Step by step
Four steps. Steps 2, 3 and 4 each have a prompt: tap Copy, paste it into Claude, send. The prompt boxes scroll, and Copy always takes the whole prompt.
-
Get the desktop app, open Claude Code, make the folder
From the reel Download the Claude desktop app for Mac or Windows from claude.com/download, open it and sign in. Click the Code tab at the top of the sidebar.
Make a folder named
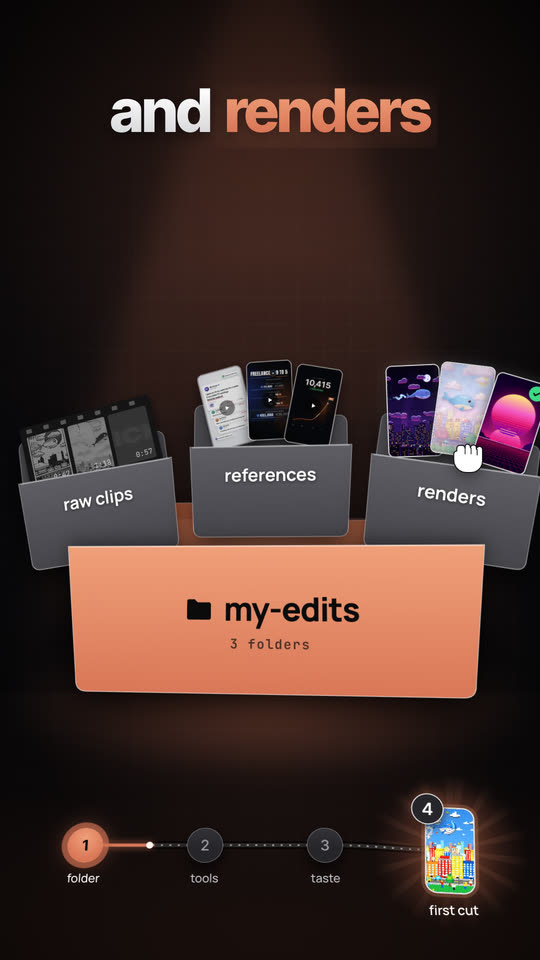
my-editsin Finder or File Explorer, with three folders inside:my-editsmy-edits/ raw clips/ your own footage references/ reels you like renders/ finished videos
Back in the Code tab, look at the row under the prompt box. Click the first control (the environment selector) and pick the top entry under Local. Click the project folder control next to it, choose Open folder… and pick
my-edits. That is your local chat on the folder.Tip Clicking Code shows a prompt to upgrade? Claude Code needs a paid Claude plan (see the questions below). Keep the permission mode on Manual at first: Claude then asks before it runs a command or changes a file.
-
Prompt 1: Claude installs the five tools
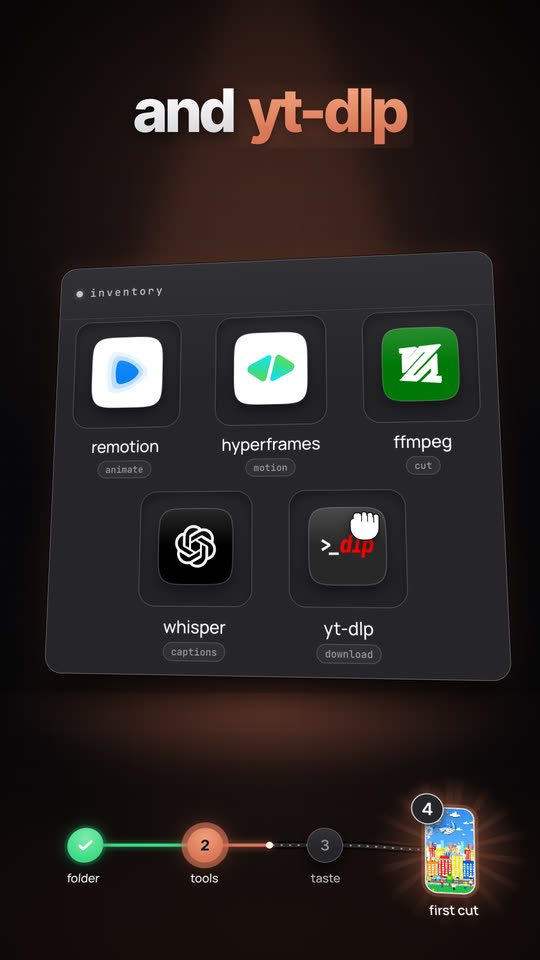
From the reel Paste prompt 1 into the chat and send it. Claude checks your computer, shows what is missing and waits for your OK before it installs anything. At the end it prints a checklist with every tool's version. Then start a new local chat on the same folder for step 3.
Set up this folder as my video editing workspace. This chat is open on my folder "my-edits". It should hold three folders: "raw clips", "references" and "renders". Create any of the three that are missing. Do not change or delete any other file on my computer.

Install these tools and check that each one works:
1. Node.js 22 or newer (HyperFrames needs 22 or newer, Remotion runs on it too)
2. Python 3
3. FFmpeg, including ffprobe
4. Whisper, OpenAI's free speech to text (the openai-whisper package). If it will not install, use whisper.cpp instead.
5. yt-dlp, the free video downloader
6. Remotion and HyperFrames, the two free tools that turn code into video, set up in this folder

How to work:
- First find out my operating system and its version, and which of these tools are already installed and which version. Show me a short table: tool, found or missing, version. Then list the exact commands you will run for the missing ones and wait for my OK.
- Never type or ask for my password. If a step needs an administrator password, stop, give me the one command to paste into my own Terminal window (Mac) or PowerShell window (Windows), say what it will ask me, and wait until I write "done".
- Install one tool at a time and check it right after by printing its version. If a step fails, read the error and try the fix the tool's official docs give. If it still fails, tell me in plain words what failed and what I can do, then go on with the next tool.

On a Mac:
- Use Homebrew. If the command "brew" is not found, ask me to install Homebrew myself by pasting this into the Terminal app (it asks for my Mac password once):
  /bin/bash -c "$(curl -fsSL https://raw.githubusercontent.com/Homebrew/install/HEAD/install.sh)"
  When it finishes it prints "Next steps" with one or two commands that add brew to the PATH. Tell me to run those too, then continue.
- Install only what is missing with: brew install node python ffmpeg yt-dlp openai-whisper
- If openai-whisper fails, run: brew install whisper.cpp
- Remotion needs macOS 15 (Sequoia) or newer. On an older macOS skip Remotion, tell me, and use HyperFrames alone.

On Windows:
- Use winget (it comes with Windows 10 and 11 as "App Installer"). If winget is missing, tell me to install "App Installer" from the Microsoft Store and wait.
- Install what is missing, one at a time, with: winget install --id <id> -e
  Node.js: OpenJS.NodeJS.LTS. Python: Python.Python.3.12. FFmpeg: Gyan.FFmpeg. yt-dlp: yt-dlp.yt-dlp.
  Windows may show a "Do you want to allow this app to make changes" box. I click Yes myself, so tell me when to expect it.
- Then Whisper: py -3.12 -m pip install -U openai-whisper
  If the "whisper" command is not found afterwards, use "py -3.12 -m whisper" instead.
- A tool installed a moment ago is often "not found" until the app restarts. If that happens, tell me to quit and reopen the Claude app, start a new local chat on this folder and paste this prompt again. It skips what is already installed.

Remotion and HyperFrames (Mac and Windows, run inside this folder):
- HyperFrames: run "npx hyperframes skills update" (this adds HyperFrames' own instructions for Claude), then "npx hyperframes doctor". Doctor checks Node.js, FFmpeg and Chrome. Fix every line it marks as failing with the hint it prints.
- Remotion: run "npx create-video@latest --yes --blank remotion-starter". This makes a folder "remotion-starter" with an empty Remotion project. Then, inside remotion-starter, run "npx remotion skills add".
- If npx asks "Ok to proceed? (y)", answer y.

Last check:
- Print a final checklist with one line per tool: name, version, OK or FAILED. For every FAILED line add one sentence on how I can fix it.
- Test Whisper without a real video: run its help command (whisper --help, or whisper-cli --help for whisper.cpp). Tell me that the first real transcription downloads a speech model once, so it takes longer.
- Then tell me: "Setup done. Start a new local chat on this folder and paste prompt 2." A new chat loads the instructions HyperFrames and Remotion just added.
Tip On a Mac without Homebrew, Claude gives you one command to paste into the Terminal app. Your Mac password goes there, never into the chat. Something failed? Type "fix the error", or paste prompt 1 again: it skips what is already installed.
-
Prompt 2: Claude learns your style
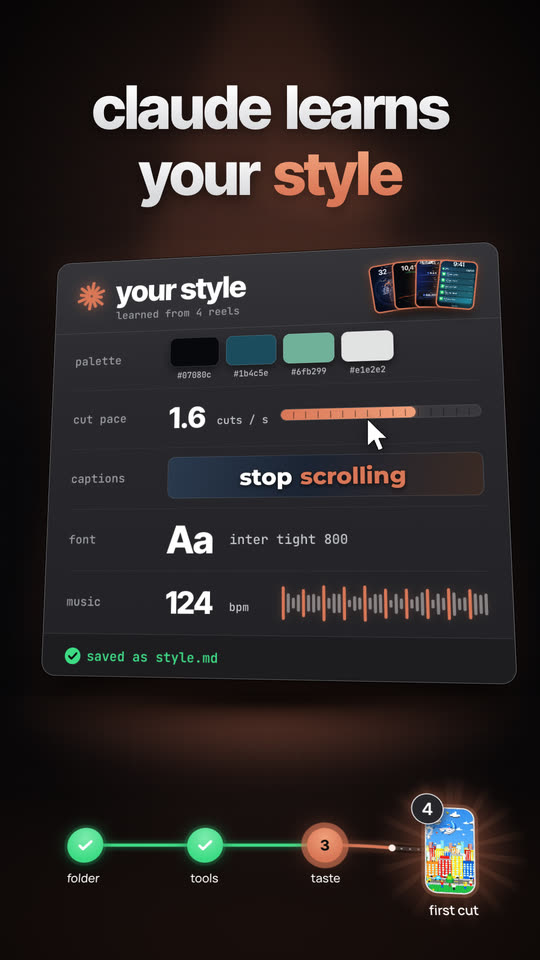
From the reel Choose three to five reels you like, the kind of video you want to make. Copy prompt 2, paste it, put the reel links under "My reels" at the end and send. Claude downloads them into
references, measures the cut pace, captions, colours, loudness and hooks, and saves it all inreferences/STYLE.md.Learn my video style from the reels I like. This chat is open on my folder "my-edits", which holds the folders "raw clips", "references" and "renders". The tools are installed: yt-dlp, FFmpeg (with ffprobe) and Whisper (the "whisper" command, or whisper.cpp through "npx hyperframes transcribe"). If one of them is missing, tell me which one and stop. The links to 3 to 5 reels I like are at the end of this message. For each link: 1. Download it with yt-dlp into "references", named by the video id: yt-dlp -o "references/%(id)s.%(ext)s" "<link>" If a download fails because the site wants me logged in, tell me. You may retry with --cookies-from-browser <my browser> only after I say yes and name my browser. For YouTube links, if yt-dlp warns about a missing JavaScript runtime, retry with --js-runtimes node. 2. Measure it with ffprobe and FFmpeg: - length in seconds, width, height, frame rate - hard cuts: run FFmpeg's scene detection (select='gt(scene,0.3)' with showinfo) and count the cuts. Write cuts per second and the average shot length in seconds. - loudness: run FFmpeg's ebur128 filter and write the integrated loudness in LUFS. 3. Take frames: one frame every second as JPEG into "references/frames/<video id>/". Look at the frames yourself. 4. Transcribe it: whisper "<file>" --model small --word_timestamps True --output_format json --output_dir references/transcripts (or npx hyperframes transcribe "<file>" if only whisper.cpp is installed). The first run downloads the speech model once. Then write "references/STYLE.md" in plain English with these sections. Give a measured number wherever you have one, and mark guesses as guesses: - Cut pace: cuts per second and average shot length for each reel, then the average. - Captions: font family (your best guess, plus a free look-alike from Google Fonts), size as a share of the frame height, position on screen, text and highlight colours, outline or box, words per caption, upper or lower case, how words appear (pop, fade, word by word). - Colours: the 4 to 6 main colours as hex codes, and the overall look (warm, cool, contrasty, muted). - Motion graphics: what moves on screen besides the person (zooms, punch-ins, arrows, emoji, b-roll, screen recordings, transitions) and how often. - Music and sound: integrated loudness, and what you can tell from the frames and the transcript. You cannot hear the audio, so say so, and leave a line for me to fill in the music feel. - Hook: the first 3 seconds of each reel (the words said, the text on screen, what the first frame shows) and the pattern they share. - A short recipe: 5 to 8 bullet rules for my edits that follow from the above. Put this line at the top of STYLE.md, word for word: "Learn from them, don't copy them: no copied footage, text or logos in my edits." At the end, show me the recipe and tell me: "Your style is saved in references/STYLE.md. Put your video in raw clips (or write an animation idea) and paste prompt 3." Also remind me that downloading other people's reels is only for my private study. My reels: 1. 2. 3. 4. 5.
Tip Instagram sometimes refuses downloads without a login. Claude then asks before it uses your browser's login. Learn from these reels, don't copy them: they are for your private study.
-
Prompt 3: your first cut
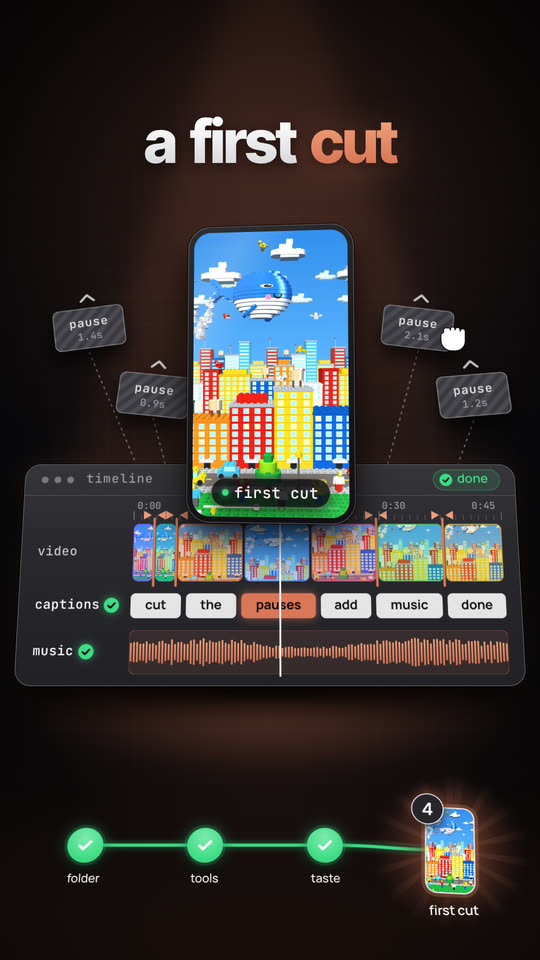
From the reel Film your video and put it in
raw clips. Paste prompt 3 and send. Claude takes your newest video, removes the pauses and false starts, adds word timed captions in your style and renders a 1080x1920 first cut intorenders.Rather make an animation? Write your idea at the end of prompt 3, under "My animation idea", and Claude builds that instead.
Make a first cut of my video. This chat is open on my folder "my-edits", which holds "raw clips" (my footage), "references" (with STYLE.md, my style notes) and "renders" (where finished videos go). The tools are installed: FFmpeg (with ffprobe), Whisper (the "whisper" command, or whisper.cpp through "npx hyperframes transcribe"), HyperFrames and Remotion (both run with npx). Read references/STYLE.md first and follow it. If STYLE.md is missing, tell me to run prompt 2 first and stop.

What to edit:
- If I wrote an animation idea at the very end of this message, build that animation (see "If I described an animation" below).
- Otherwise take the newest video file in "raw clips" (the one changed most recently). If the folder is empty, tell me and stop. Never change or delete my original files: work on copies.

Steps for my video:
1. Check it with ffprobe: length, size, frame rate, rotation, audio.
2. Transcribe it with word timings: whisper "<file>" --model small --word_timestamps True --output_format json --output_dir renders/<name>-work (or npx hyperframes transcribe "<file>" if only whisper.cpp is installed). <name> is the file name without its extension.
3. Find what to cut: silences longer than about 0.4 seconds (FFmpeg silencedetect, about -35 dB) and false starts, where I start a sentence and then say it again. Keep the last, cleanest take of each line. Keep about 0.1 seconds of air around every cut so words are not clipped.
4. Write the plan to renders/<name>-work/cuts.md: each kept part with its start and end time and its words, and each removed part with the reason.
5. Cut the video with FFmpeg into renders/<name>-work/cut.mp4, then transcribe cut.mp4 again so the caption timings match the new edit.
6. Build the edit as a 1080x1920 (9:16) video at 30 fps with HyperFrames:
   npx hyperframes init renders/<name>-project --video renders/<name>-work/cut.mp4 --resolution portrait --non-interactive --skip-transcribe
   Read the AGENTS.md that init writes into the project, it lists the commands. If HyperFrames does not work, use Remotion instead: copy the "remotion-starter" folder to renders/<name>-project (if it is missing, run npx create-video@latest --yes --blank renders/<name>-project) and build the same edit there.
   - The video fills the frame. If it is not 9:16, crop it to fill (never squash it).
   - Word timed captions in the STYLE.md look: font, size, position, colours, words per caption, the way words appear. Use the timings from step 5. Keep captions inside the middle of the frame, away from the top and bottom edges where Instagram puts its buttons.
   - Motion from STYLE.md (punch-ins, zooms) only where it helps, and at the cut pace STYLE.md measured.
   - Music only from a file I put in "references/music" (mp3, wav or m4a). If there is one, play it under my voice about 18 dB quieter, fade it in and out, and end it with the video. If that folder is empty or missing, add no music and tell me so.
7. Render it to renders/<name>-first-cut.mp4. Check the file with ffprobe (1080x1920, 30 fps, sound) and look at 3 frames from it (start, middle, end) to make sure the captions are readable and nothing is cut off. Fix what is wrong and render again.

If I described an animation:
- Build it with HyperFrames as a 1080x1920 video at 30 fps in the STYLE.md colours and fonts. Length: what I wrote, or 10 seconds. Text on screen only if I asked for it. Music only from references/music, as above.
- Render it to renders/animation-first-cut.mp4 and check it the same way.

When the first cut is done:
- Tell me the file path, its length, and in one line each: what you cut, how the captions look, whether there is music.
- Then tell me: "Want changes? Tell me in plain words, for example: the hook needs more punch, make the captions bigger, cut the part about pricing, music quieter." For every change, edit the same project and render a new numbered file (first-cut-2.mp4, first-cut-3.mp4, ...). Never overwrite an earlier render.

My animation idea (leave empty to edit my newest video):
Want changes? Just tell it in plain words in the same chat, for example "the hook needs more punch" or "make the captions bigger". Every change becomes a new numbered file, so nothing gets overwritten.
Tip Music only comes from you: make a folder
musicinsidereferencesand put one music file in it. No file, no music.
Questions
Does it cost money?
The five tools and the three prompts are free. Claude Code needs a paid Claude plan: Pro, Max, Ultra, Team or Enterprise. The Free plan does not include it. Prices are on claude.com/pricing. Remotion is free for individuals and for companies of up to three people; bigger companies need a company license (remotion.dev/license).
Does it work on Mac and Windows?
Yes. The desktop app runs on both, and prompt 1 has the install steps for each: Homebrew on a Mac, winget on Windows. Claude Code needs macOS 13 or newer, or Windows 10 (version 1809) or newer. Remotion needs macOS 15 or newer on a Mac; on an older Mac prompt 1 skips Remotion and the edits run on HyperFrames.
How long does the setup take?
We have not timed it on a fresh computer, so no promise here. It depends on your internet speed and on what is already installed. The first transcription also downloads Whisper's speech model once, so it takes longer than the ones after it.
Am I allowed to download other people's reels?
Only for your own private study, and that is your responsibility: check the platform's terms. Claude learns the style from them; it does not put their footage, text or logos into your edits. What you post should be your own footage.
Why does my result look different?
Claude writes every edit fresh, from your footage and the reels you picked, so no two first cuts look the same. Tell it what to change in plain words, or pick reference reels that are closer to the look you want and run prompt 2 again.